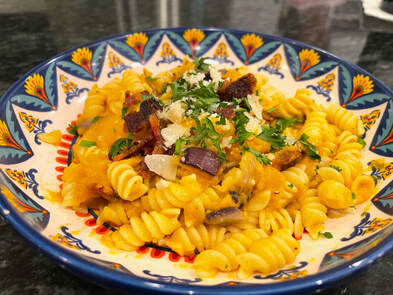
 I am not a PSL fangirl, but I do love Fall cooking, especially with all the yummy autumn squashes. And the thought of combining squash flavors with pasta so that my boys might actually eat it was a challenge I was willing to take. This recipe did not take long, was not difficult, and was a huge hit. I added some extra red pepper flakes to give it a kick so that the guys would like it and it worked - my older son loved it! I’ve been asked to add it to our regular rotation of dinners. In our house, that is high praise. So this one was a definite win for the Delaney Test Kitchen. Enjoy!
Butternut Squash Pasta with Bacon and Parmesan INGREDIENTS:
PREPARATION:
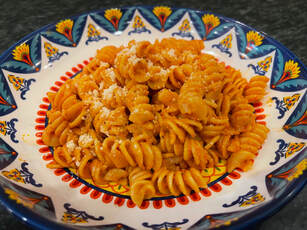 So there are a few recipes circulating around on Tiki Tok and social, and I've tried a few of them with mixed results. But this one looked easy and the reviews were all solid so I tried it in the Delaney Test Kitchen. And my family LOVED it. They even asked that it be added into the regular rotation. Its definitely worth a try - I hope you love it, too. And thanks for sharing, Gigi!
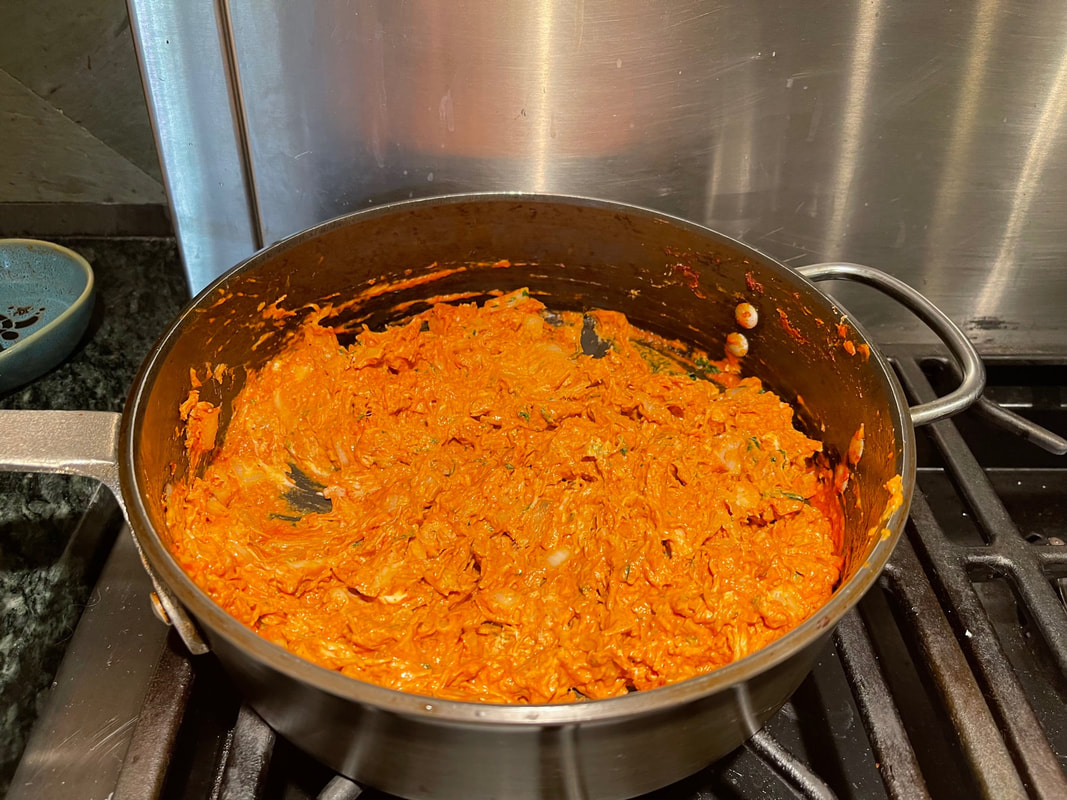
Gigi Hadid's Spicy Vodka Pasta Sauce INGREDIENTS: ¼ c olive oil 1 clove garlic 1 shallot 1T fresh Basil 1 small can of tomato paste 1T vodka ½ c heavy cream ½ c grated parmesan separated (1/4 for recipe and ¼ for topping) 1 t Chili flakes (I recommend closer to 1 T) 1T butter 16 oz pasta (I recommend Rotini) Salt & pepper to taste PREPARATION: 1. Dice the garlic and shallot. 2. Heat ¼ c of olive oil in a large saucepan, add the shallot and garlic, and cook until soft (2-3 mi nutes). 3. Add the tomato paste and cook until the sauce is a bit darker and carmelized 4. Add 1 tablespoon vodka and cook until it almost evaporates. (You can also skip the vodka altogether if you prefer.) 5. Add 1/2 cup heavy cream and chili flakes (1t, or more if you like it hotter). Keep stirring until the sauce is combined. Season with salt & pepper to taste. Remove the sauce form the heat. 6. Cook the pasta according to directions on the box. Before draining it, save 1/4 cup or more of the pasta water. 7. Add the cooked (& drained) pasta, the 1/4 cup reserved pasta water, and 1 tablespoon butter to the red sauce in the large saucepan. Stir over medium heat till the butter has melted and the sauce looks done. (note: if your sauce is too thick or simply not saucy enough, slowly add the additional pasta water you put aside earlier until it reaches your desired consistency.) 8. Add ¼ c Parmesan Cheese and stir. 9: Serve Topped with Parmesan Cheese and Chopped Basil. 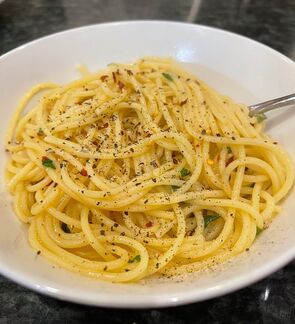 I love that the story behind this recipe is that its pasta you can easily make in the middle of the night with just a few pantry staples. With a teenaged boy in the house, he makes a fifth meal every night at 11:30pm or 12am. This is another option for him, and for the family.
This recipe from New York Times Cooking does seem a little bit more complicated since it requires roasting the garlic ahead of time. For me, I put the garlic in the oven while I worked out, and then made dinner an hour later and it was perfect. You can always make a lot of roasted garlic at once and save it for up to 2 weeks in the fridge or 2 months in the freezer. Then it truly can be a Midnight Pasta. For the record – this was also a hit. I served some non-chile pasta to my 11 year old, but the rest of us enjoyed the spicy recipe as is. Yum! Midnight Pasta with Roasted Garlic, Olive Oil and Chile INGREDIENTS: · 1 large head of garlic · Kosher salt · ½ cup plus 1 teaspoon extra-virgin olive oil · 1 cup firmly packed parsley leaves · 1 pound spaghetti or other long pasta · ½ teaspoon red-pepper flakes, plus more for garnish · Black pepper · Freshly grated Parmesan, for serving PREPARATION: Step 1:
Step 2:
Step 3:
Step 4:
Step 5:
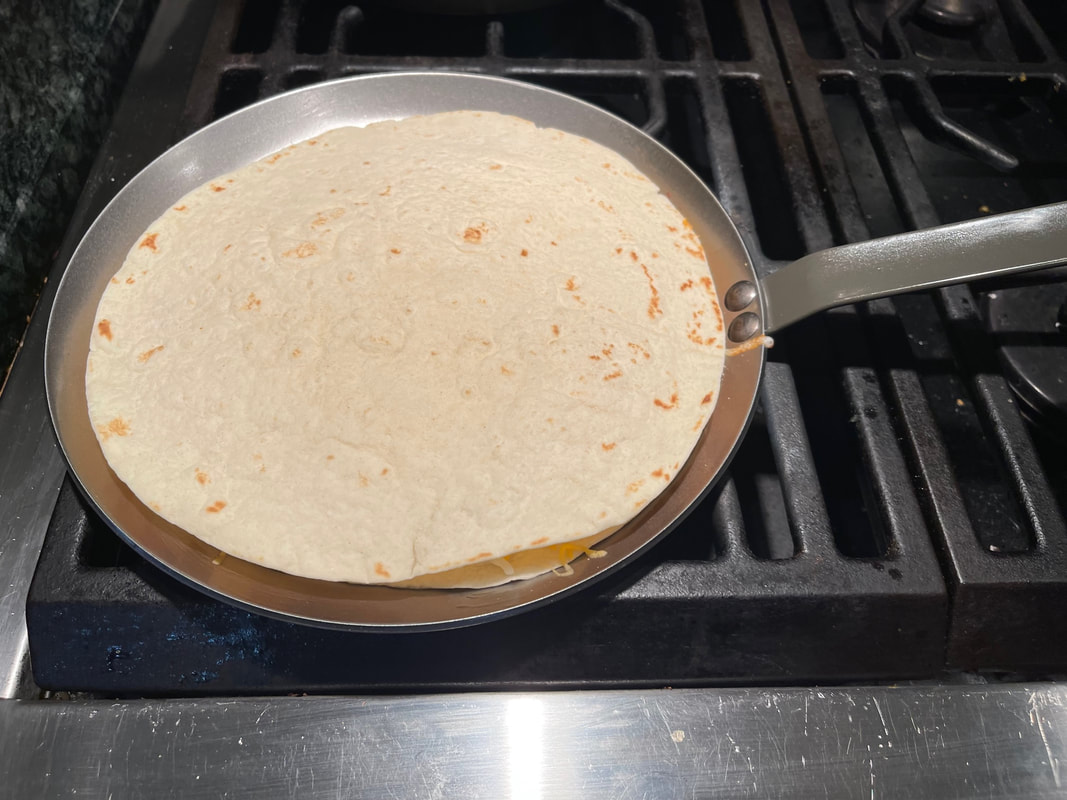
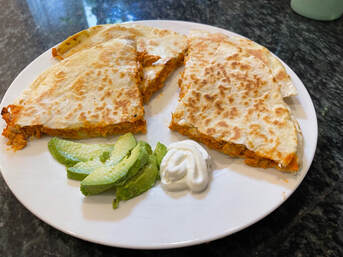 This is a recipe that my son has told me is the closest thing to authentic Mexican food he's tasted that I have ever made. I also made this over the summer when we had 7 17y-olds to feed, and they ate.it.all. Then the moms started asking me for the recipe. So this is for them :-). This recipe is easy to double for when the whole family is home or friends are over. For those of you feeding teenage boys - just go ahead and double it. Cheesy Chicken Quesadillas INGREDIENTS: 8 oz pulled chicken (cooked) (I get some at our local BBQ place and freeze it for this, or you can use a rotisserie chicken) Filling: 3 T cream cheese 6oz tomato paste (small can) 2 tsp garlic / 4 tsp if 1 tsp cumin 1 tsp chili powder 3 T cilantro 4 ea 10” flour tortillas 1 ½ c shredded mozzarella ¼ c red onion ⅓ c sour cream 1. Prepare the Chicken: Defrost the chicken if necessary, and then roughly chop the pulled chicken. Here you have two choices – you can get a rotisserie chicken and pull off the meat, get some pulled chicken from your favorite BBQ place, or I keep packages of it in the freezer to defrost as needed. 2. Start the Filling: Mix together all of the Filling ingredients into a medium sized bowl. Chop the cilantro and add half to the mixture. Then add in the roughly chopped chicken, and mix well. 3. Cook the quesadillas: Heat one Tbsp of oil over medium heat. Place one tortilla in the pan, cover with filling and mozzarella cheese to taste. Then top with another tortilla. You’ll want to cook them for 3-4 minutes per side, until the tortilla is golden & the cheese is melted. Repeat the process to make additional quesadillas, adding more oil to the pan as necessary. Place the quesadilla on a plate and cut into 4-6 wedges, using a pizza cutter. Serve with a dollop of sour cream an a sprinkle of some of the remaining cilantro, and some salsa. Our favorite salsa is from Zocalo here in Atlanta Enjoy! |
AuthorKris Delaney is a marketing executive, foodie, travel enthusiast, and book nerd based in Atlanta, GA. Archives
July 2023
Categories
All
|
 RSS Feed